This post may contain affiliate links. Read our disclosure here.
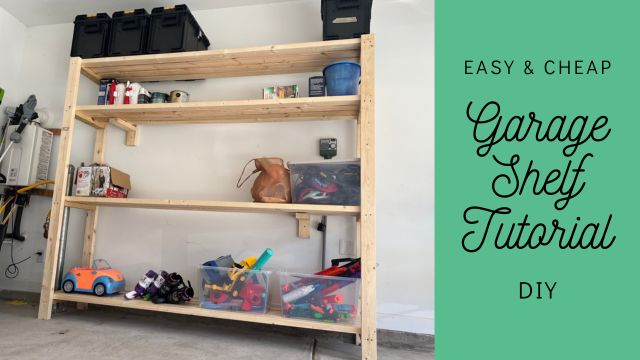
Have a saw, a drill and some 2x4s? You can build a huge garage shelf in half a day for CHEAP!
I cleaned out my garage recently and realized I don’t have too much stuff, I just don’t have a lot of storage. I wanted to put up some shelves but for less than $100. The choices online for sturdy garage shelves around $100 are next to zero.
So what do you do when your house project doesn’t fit the budget? You DIY!!

Follow below and see how I built a HUGE set of garage shelves for about $100! I used a power saw but you really could do this with a hand saw because there are not a ton of cuts and they’re all straight cuts.
Materials:
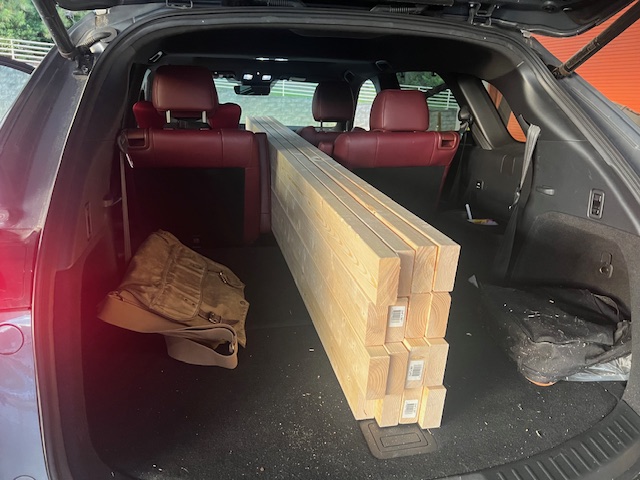
- 2×4’s – 22 total
- Saw (I used a miter saw but you can use a circular saw or a hand saw)
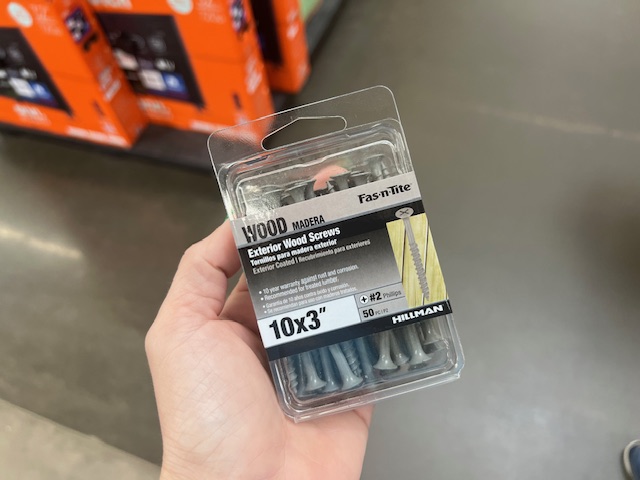
- 3-inch wood screws, a box of 100
- Power drill w/ bit
- Measuring tape
- Level
Instructions:
1. Dimensions:
I kept this easy and decided to make 8′ long shelves. That is the length of the 2×4’s and that meant less cutting. I decided to make them 7′ tall and 17″ deep.
2. Account for floor slope (optional):
Most of the time garage floors are sloped slightly so water runs toward the garage door and not your house. While the slope is not much and can be ignored, I decided I wanted to level shelves as much as possible. It’s easy to do:
-
- Place a 2×4 on the floor pointing toward the garage door. Put your level on top and hold the board on one end until it’s level.
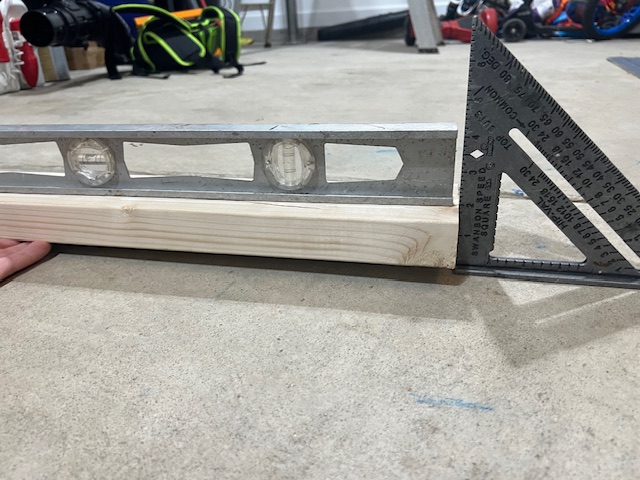
- Place a 2×4 on the floor pointing toward the garage door. Put your level on top and hold the board on one end until it’s level.
-
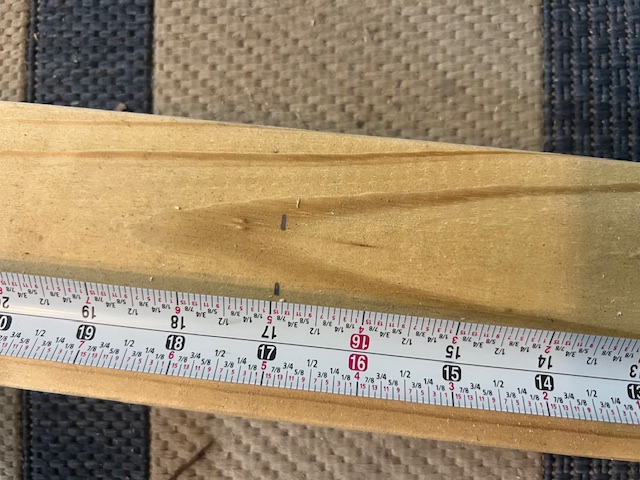
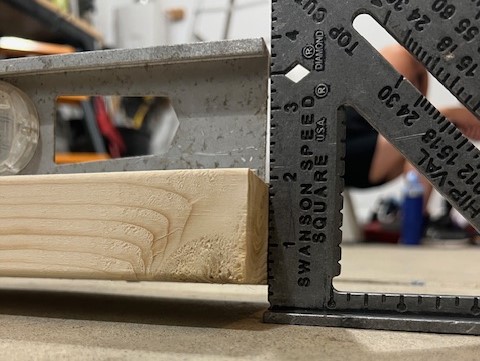
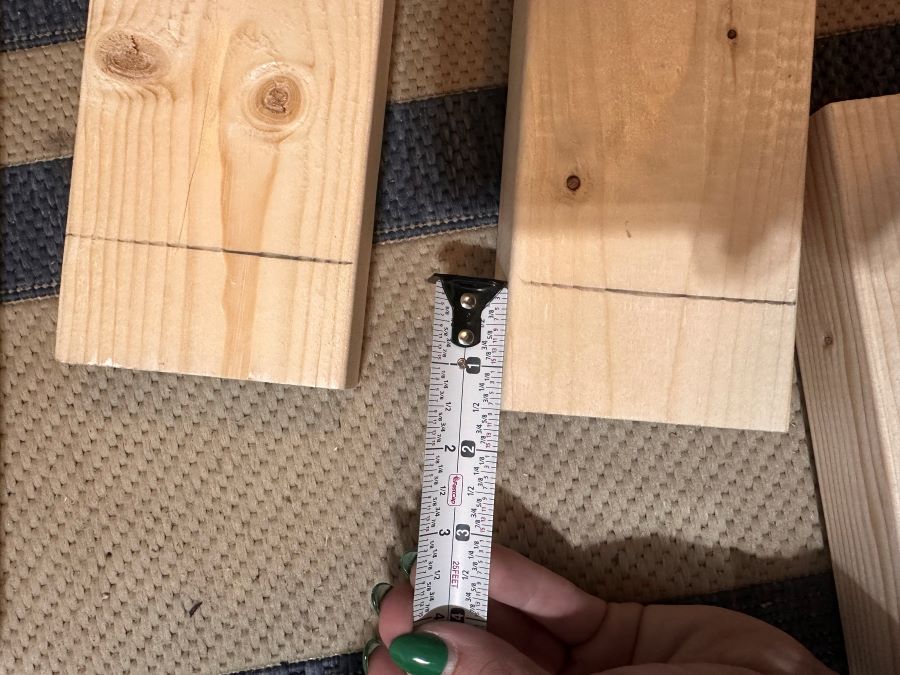
- Use a square to determine the difference between the bottom of the board and the floor. In my case it was about one half inch. That’s the slope!
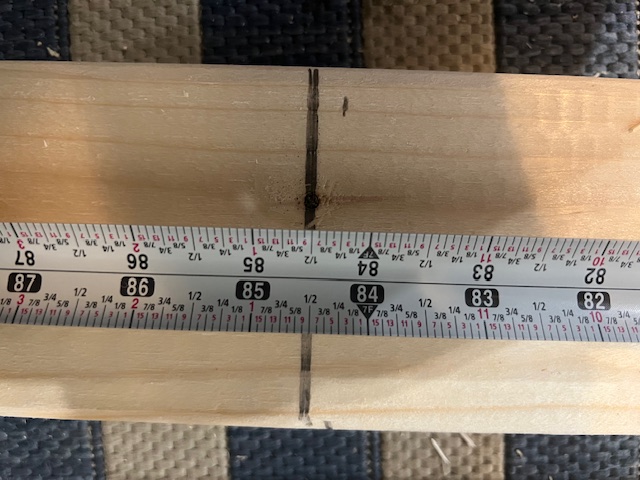
- Add the measurement of your slope (in my case one half inch) to one side of your shelf. So one side will be 84″ and one side will be 84.5″
- Use a square to determine the difference between the bottom of the board and the floor. In my case it was about one half inch. That’s the slope!
3. Make your cuts:
- Cut two boards to the height of your shelves – 7 feet or 84″.
- Cut two boards to the height of your shelves – 7 feet – plus the amount of the floor slope. In my case one half inch. So I cut these two boards to 84.5″.
- Cut (8) shelf supports to the depth you chose. I cut (8) 17″ boards.
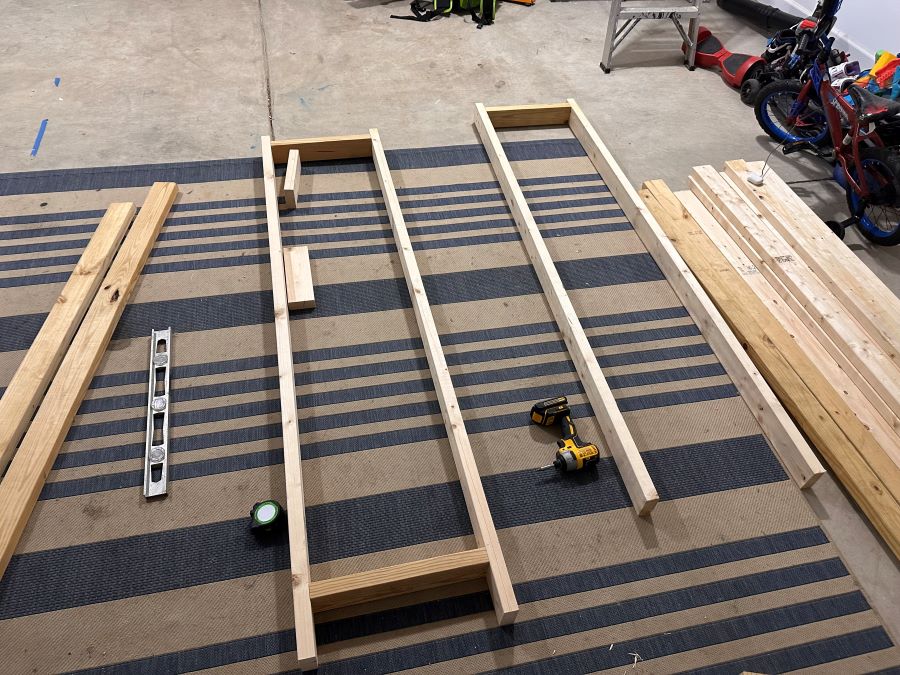
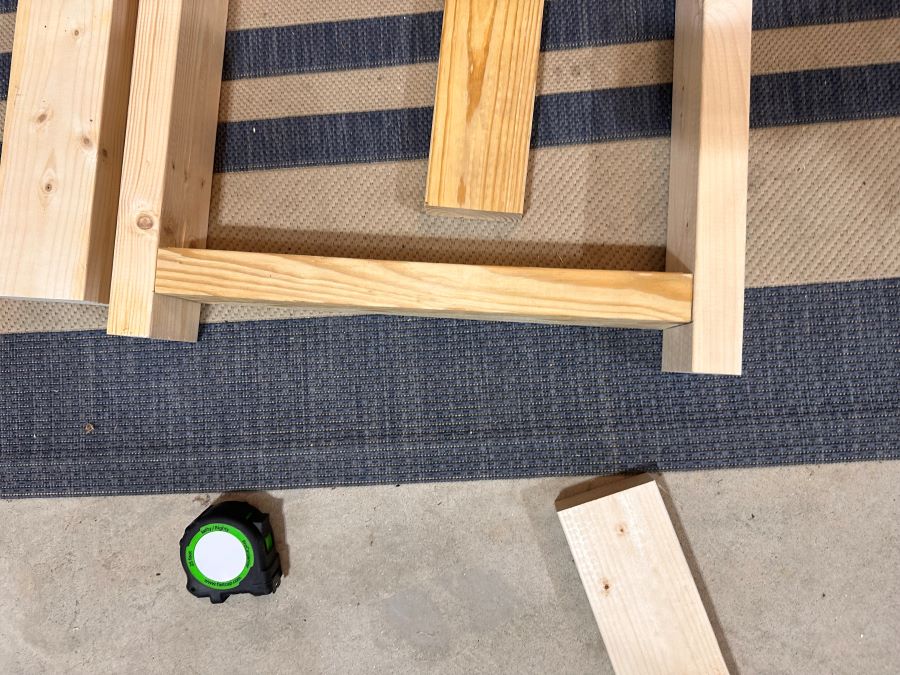
4. Build the sides:
Building the sides of the shelf is easy. You’re basically building two ladders for the shelves to sit on.
- Lay the long boards parallel to each other. Make sure if you made one side longer to account for slope that you keep these together.
- Measure 1.5″ from the top of each board and make a mark. This is where you will screw in your first 17″ shelf support.
- Determine where you want your shelves to be. I wanted my bottom shelf to have a good amount of vertical space so I could put heavier, taller bins there.
- Measuring from the top so all your shelves are level, screw in the rest of your 17″ shelf supports to your desired shelf height.
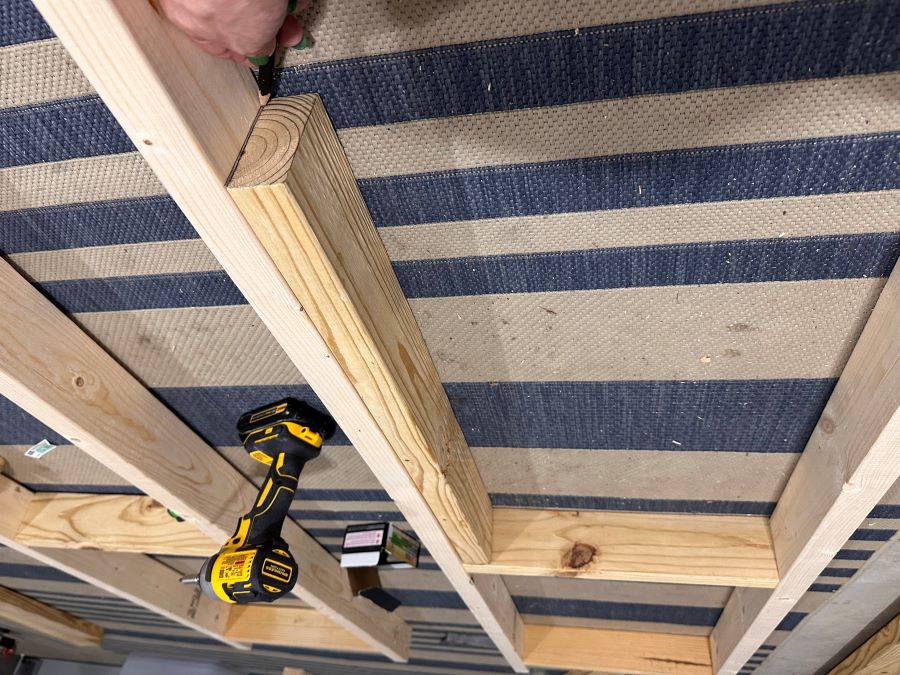
I used scrap boards cut to my shelf height to make the marks so I knew all the shelves would be the same.
5. Add the shelves:
- Stand up the two sides you just built and start laying the 8′ 2×4’s across to make the shelves. I had two little helpers to hold up the sides while I put in the first few 2×4’s but you can leave these on the floor if don’t have extra hands.
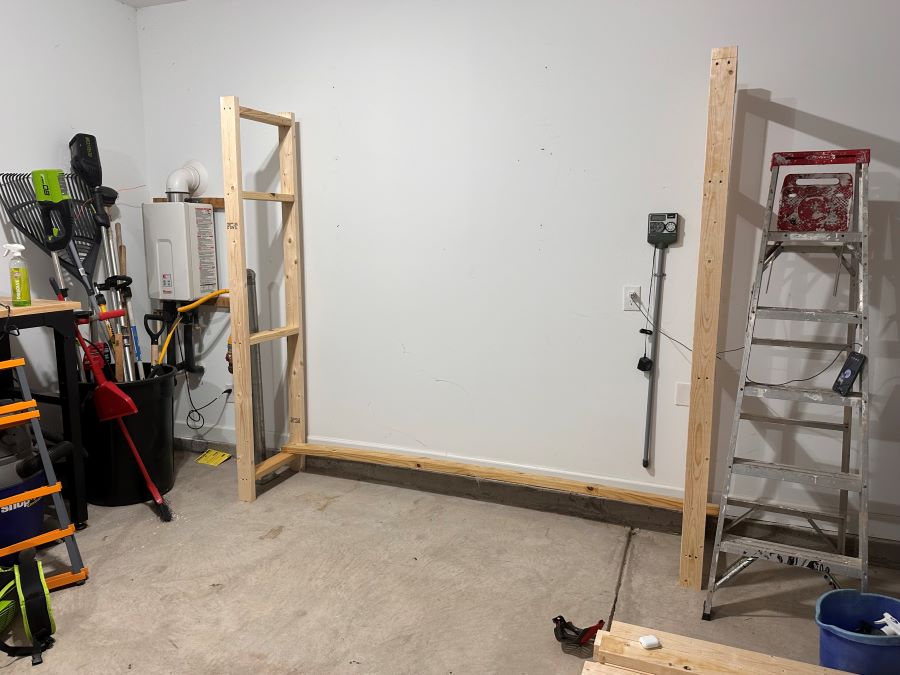
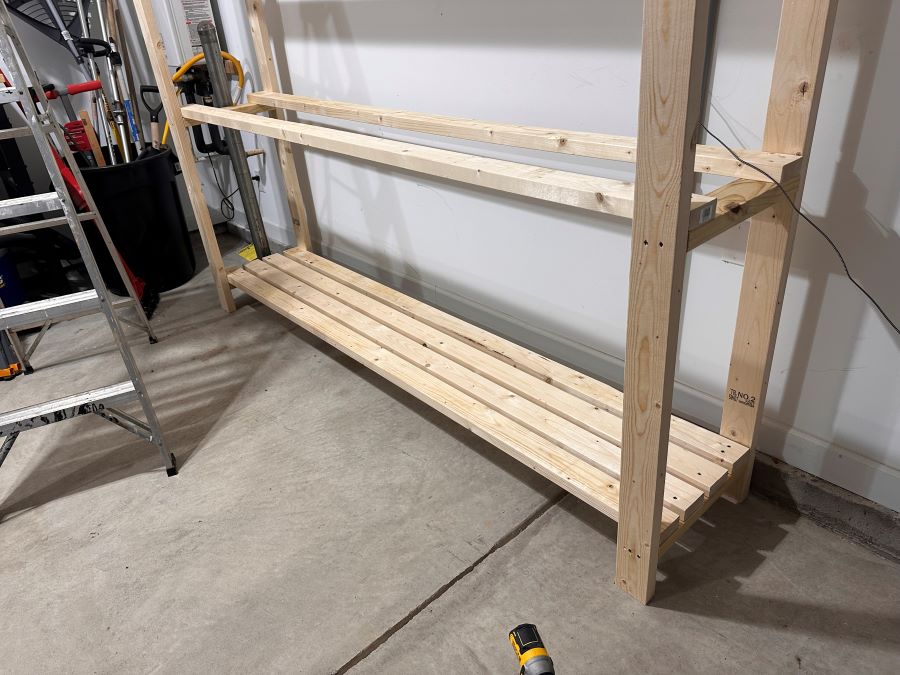
- Check for level as you go.
- Screw in all (16) boards until you have your shelf assembled!
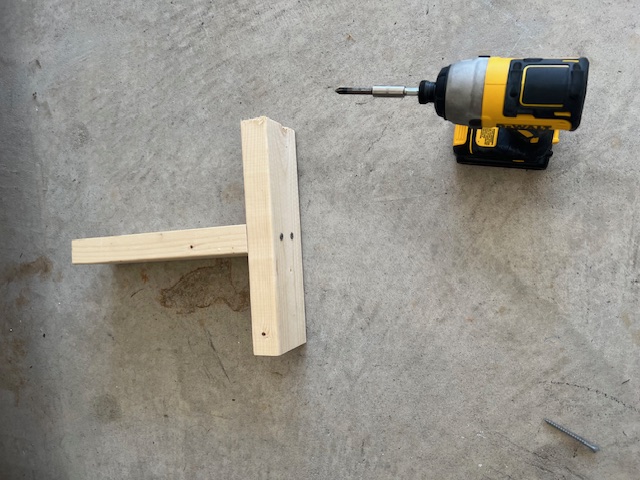
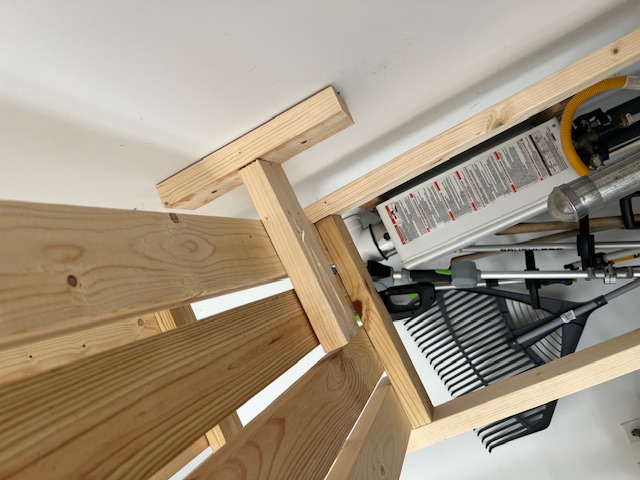
6. Attach to the wall (optional):
You don’t have to attach your shelf to the wall, but I highly recommend it. There are several ways to attach it, but I decided to throw together some brackets with scrap pieces of wood.
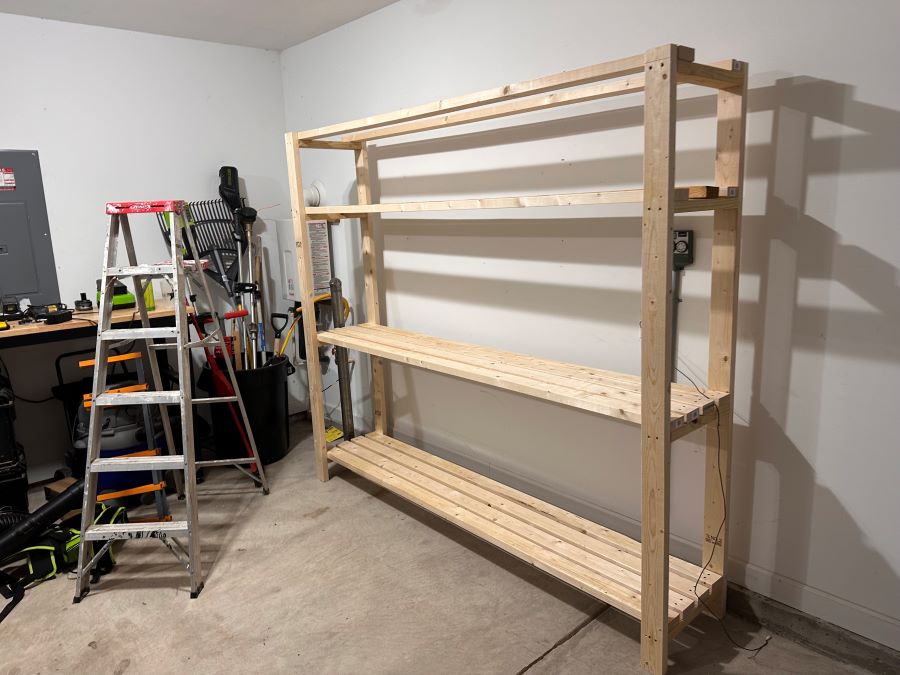
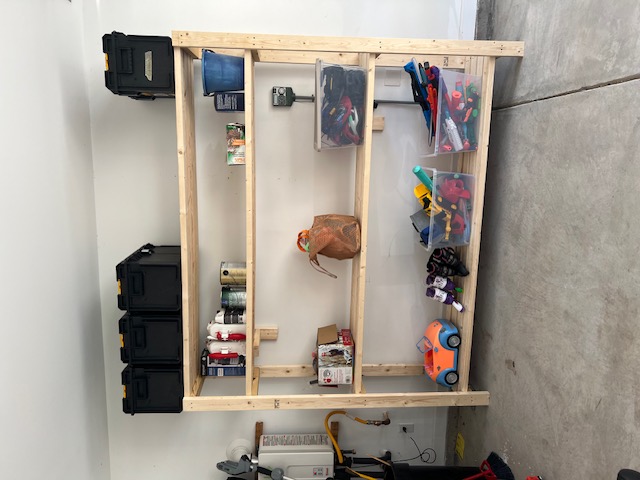
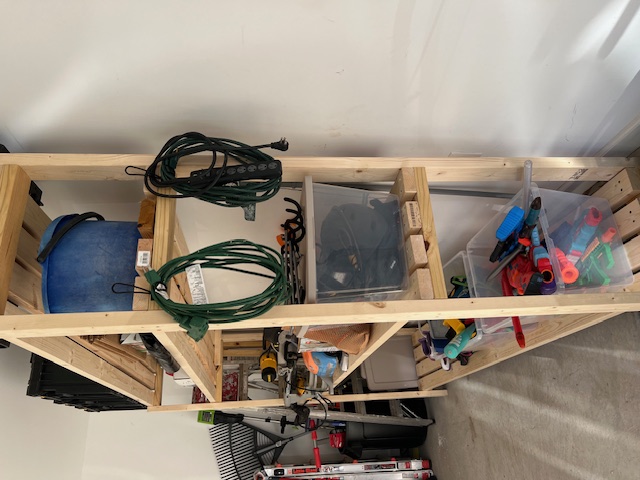
7. Organize all your stuff!
This was the best part! All my random stuff went on the shelves and suddenly I felt like I could find my stuff and keep my garage straight!
Tips:
- Secure the frame to wall studs if possible.
- Plan the height of the shelves based on how you want to use them.
- Customize it by adding peg boards, hooks and more to fit your needs! I added hooks for extension cords.
Now, you’re ready to organize your garage for about $100 and about 4 hours of work!!
See more frugal living ideas!