This post may contain affiliate links. Read our disclosure here.
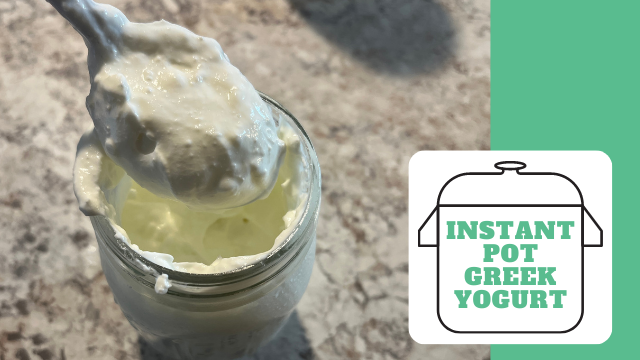
There are lots of recipes and tutorials all over the Internet on how to make your own yogurt, Greek or otherwise. I tried a few and then decided to see if I could simplify it even more and see how the yogurt turned out. For example, many recipes say you MUST use plain yogurt with no flavors. I almost never buy a huge thing of that so I opted to try it with flavored yogurt.
Your results may vary, but here’s my method, as simplified as possible, that has worked for me multiple times! I also love making it homemade because you can add whatever flavoring you want. My kids don’t want to eat it plain, but I can stir in a very small amount of honey or maple syrup and they love it.
A while ago I did a post on comparing the cost of homemade yogurt vs. store bought. Especially if you are making the yogurt with organic ingredients, it is significantly cheaper to make your own. (Note: I do share my process of making Instant Pot yogurt in that post, but there were a lot of mistakes and errors and it doesn’t actually have a recipe at the end!)
Instant Pot Greek Yogurt
There are a few supplies you will need, in addition to the Instant Pot, in order to successfully make Instant Pot Greek yogurt. You’ll need the following:
- digital food thermometer ( I like the ones with a probe that has a longer cord)
- cheesecloth (you can wash and reuse it!)
- mesh strainer
(Note: If you’re not making Greek yogurt and don’t need to strain it, you won’t need the cheesecloth or mesh strainer.)
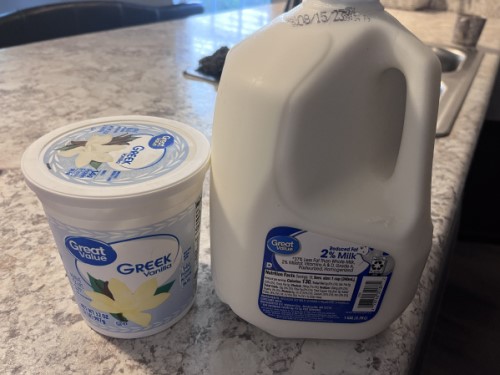
To get started, you need milk and some yogurt to use for starter. It doesn’t matter if its plain or flavored, Greek or not–it just needs to say on the ingredients that it contains “live and active cultures.”
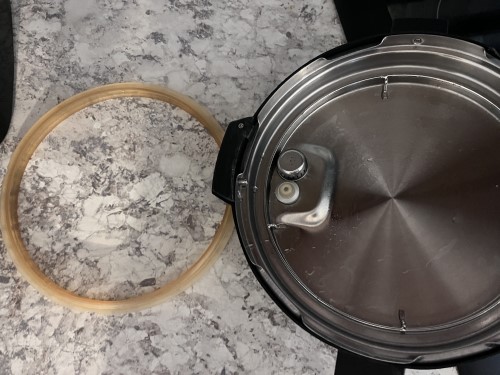
To make Instant Pot Greek yogurt, you will use the Instant Pot and the lid, but be sure to check the rubber seal on your Instant Pot to see if it has any odors. I use my Instant Pot a LOT for seasoned meat, and some of that residual odor will get stored in the seal. The only time I’ve seen it affect any other food is with yogurt, so I always remove it before making yogurt because it’s not necessary. (I know I could also buy a new seal, but I’m nothing if not frugal.)
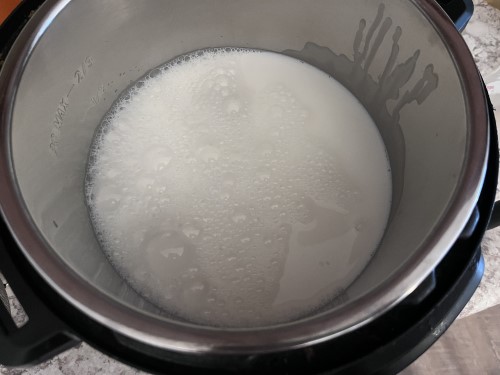
Pour a half gallon of milk into the pot.
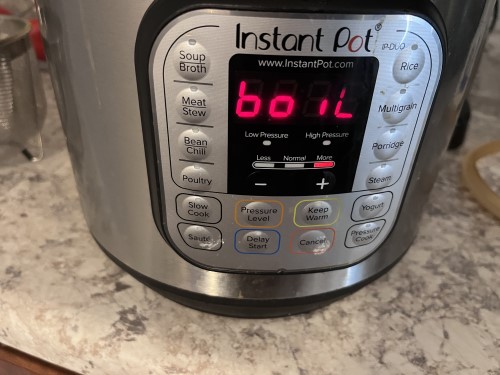
Put the lid on and lock it, but it doesn’t matter if the vent is turned to steam or not. Press the Yogurt button on the display until it says “boil.”
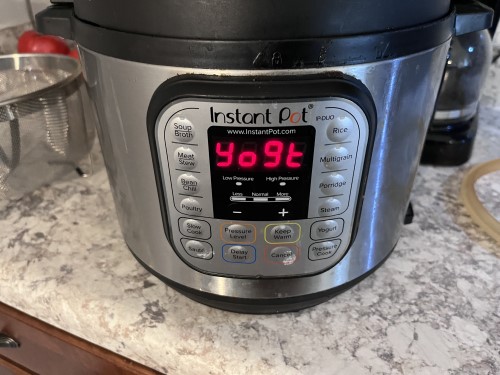
The yogurt is not going to heat until it reaches a temperature of 180 degrees. When it gets there, the display will beep and say “yogt.”
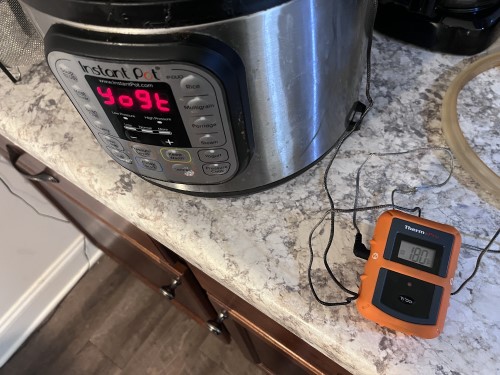
You want to make sure you have a thermometer that can stay in the pot until it is ready so that you don’t lose track. I like the ones with a cord to be sure the thermometer doesn’t fall in!
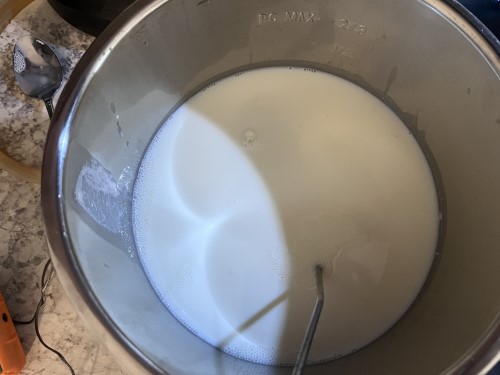
You’re going to be waiting for the yogurt to cool to 110-115 degrees, so place the pot on the counter and put the thermometer in. (Some people like to cool it in an ice bath, which only takes 5 minutes and can speed up the process, but I like doing it more slowly.)
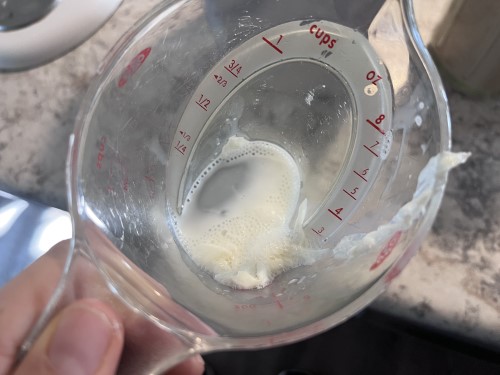
Once the thermometer reads 110-115 degrees, use a spoon to lift the coagulated milk off the top. Gross!
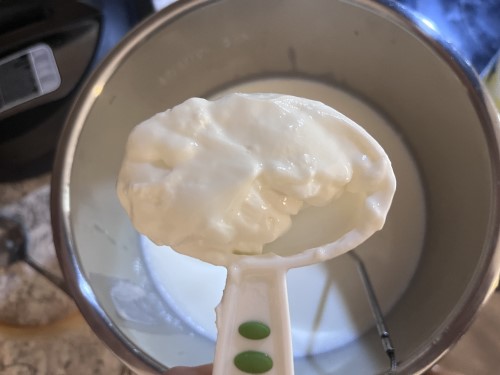
Now you’re going to measure out 2 tbsp. of your yogurt starter.
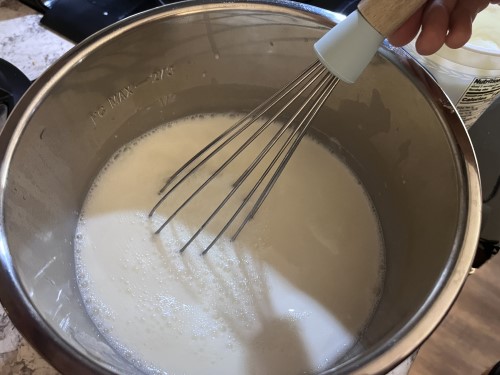
Whisk it into your yogurt.
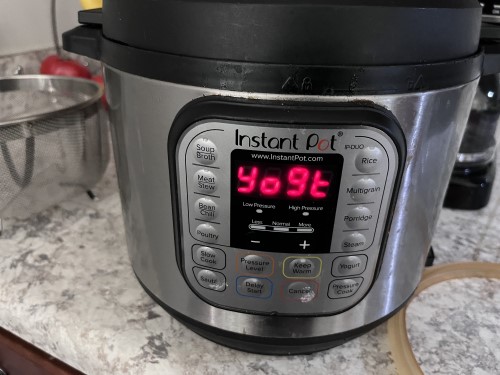
Now place the lid back on and press the Yogurt button until it reads 8:00. If the time is less than that, use the + button to increase the time.
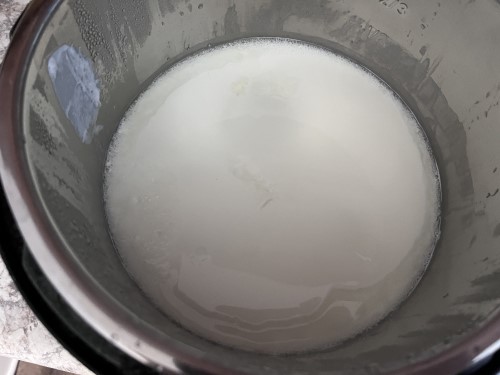
Now comes the easy part – waiting 8 hours for it to be done! Here’s what it will look like. If you don’t want to make Greek yogurt, you can just stir this up and place it in containers in the fridge.
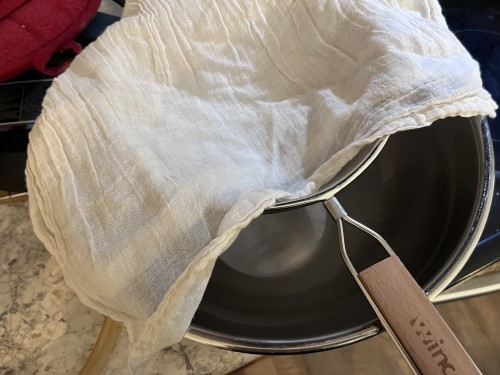
But for Instant Pot Greek yogurt, you’ll need to strain it. Here’s my setup with my mesh strainer and cheesecloth. This will create a lot of liquid, so you want to make sure the bowl is deep.
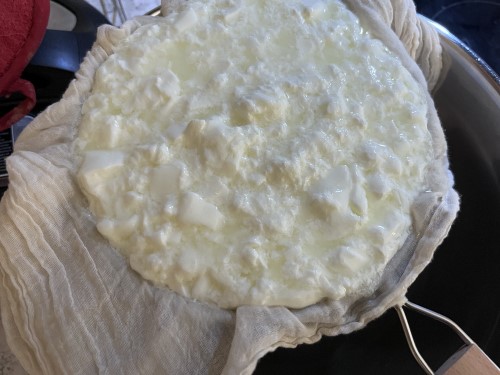
Spoon the yogurt in and place it in the fridge for no more than 8 hours. The longer you strain, the thicker the yogurt.
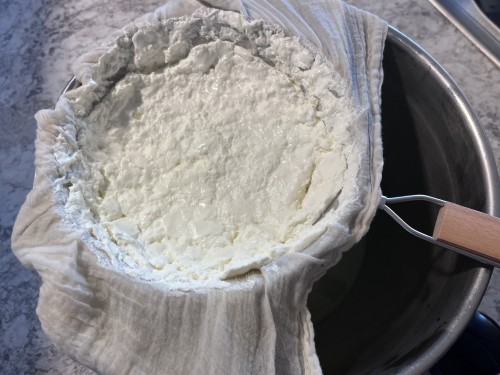
Do as I say — not as I do. I strained mine for closer to 10 hours and it was extremely thick, almost too thick to eat. Have no fear, though–if you do the same thing, you can simply stir in some of the strained liquid (whey) in the bowl back into the yogurt.
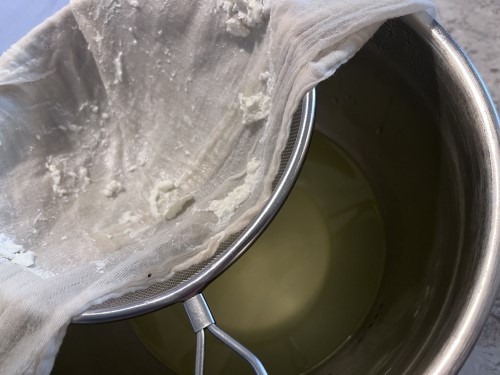
You can see how much liquid was removed! Also, notice the cheesecloth. It looks very messy, but I promise that you can rinse it off and wash it either by hand or in your laundry. I like to keep it in a ziploc bag when clean to prevent contamination in between yogurt batches.
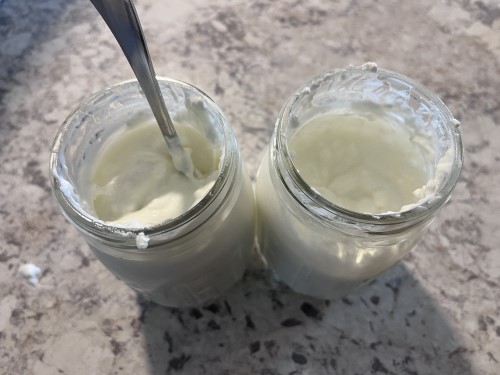
This makes about 24 ounces of yogurt, which can be stored in jars or another container in the fridge. It’s so delicious, and at this point you can stir in any additions you want. You can add a little honey or maple syrup, or even regular sugar. You could also add in frozen fruit if you plan to eat it soon.
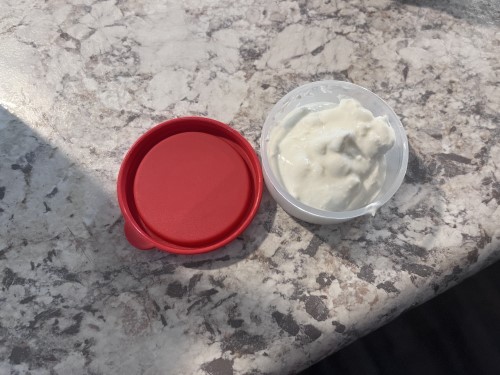
The only thing you need to remember is to save 2 tbsp. yogurt for your next batch. Enjoy!
Ingredients
- 2 tbsp. yogurt (with live, active cultures)
- 1/2 gallon milk
Directions
- Pour the entire half gallon of milk into the Instant Pot and place the lid on (without or without rubber seal; it also doesn’t matter if the steam vent is open or close). Press the yogurt button until it says BOIL.
- When it has come to the right temperature, the display will read “YOGT.” At this point, take the inner pot out and place it on the counter. Put a digital thermometer in the milk. When the thermometer reads 110-115 degrees, remove the thermometer and use a spoon to lift off the coagulated milk off the top. Discard this.
- Add the 2 tbsp. yogurt starter into the pot and whisk to combine.
- Put the pot back into the Instant Pot and add the lid (again, the rubber seal and steam vent don’t matter).
- Press the Yogurt button until it reads 8:00. If it reads a lower time, use the + button to get it to 8 hours. The yogurt will now incubate for 8 hours, and the readout will count UP to let you know how long it’s been there.
- After 8 hours, remove the lid and stir to combine. Place a strainer or colander over a large bowl and line the bowl with cheesecloth.
- Scoop the yogurt onto the cheesecloth and place in the fridge to strain for no more than 8 hours (if you want it less thick, you can strain for less time).
- Once the yogurt is sufficiently strained, place in containers and store in the fridge. Be sure to save 2 tbsp. of the yogurt for your next batch!
