This post may contain affiliate links. Read our disclosure here.
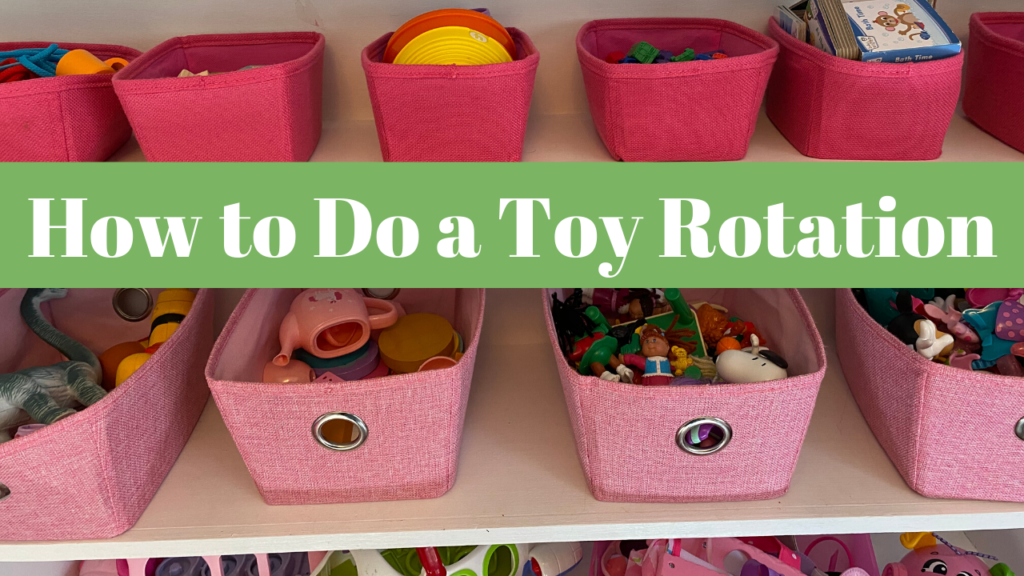
Have you ever been in the process of getting things ready for a garage sale or purging things for a big move, and you open a bin of old toys only for your kids to immediately latch onto them and refuse to give them up? This is the power of novelty! Compare that with seeing a child in a room full of toys that all belong to them, and yet the child is unable to decide what to play with or moves around from toy to toy without really playing. In this case, less is more, and learning how to do a toy rotation is one way to increase your child’s enjoyment of their toys and also reducing the potential for mess in your home.
Maybe you’re a new parent and are wondering what kinds of toys are best for kids? I love this principle from Kim John Payne’s book Simplicity Parenting about reducing the number of toys your kids play with and also making sure the toys you do have are the best options for them:
“The toys that are too detailed or complicated—too “fixed”—can rob a child of an imaginative experience… include a mixture of active toys: building, digging, construction toys; and more receptive toys, such as dolls and stuffed animals, toys that just receive. There can also be creative materials, such as paints, crayons, and some modeling substances, such as beeswax or clay. The toys with staying power are usually—not always, but pretty consistently—figures of some sort, either dolls or knights or stuffed animals; building toys; and scenes or dwellings of some sort, into which the child loves to project his or her figures, and thus themselves.”
How to Set Up a Toy Rotation
The first step before setting up a toy rotation is to get your supplies. You want containers that can fit a decent amount of toys—they could be bins you already own, or some that you buy.
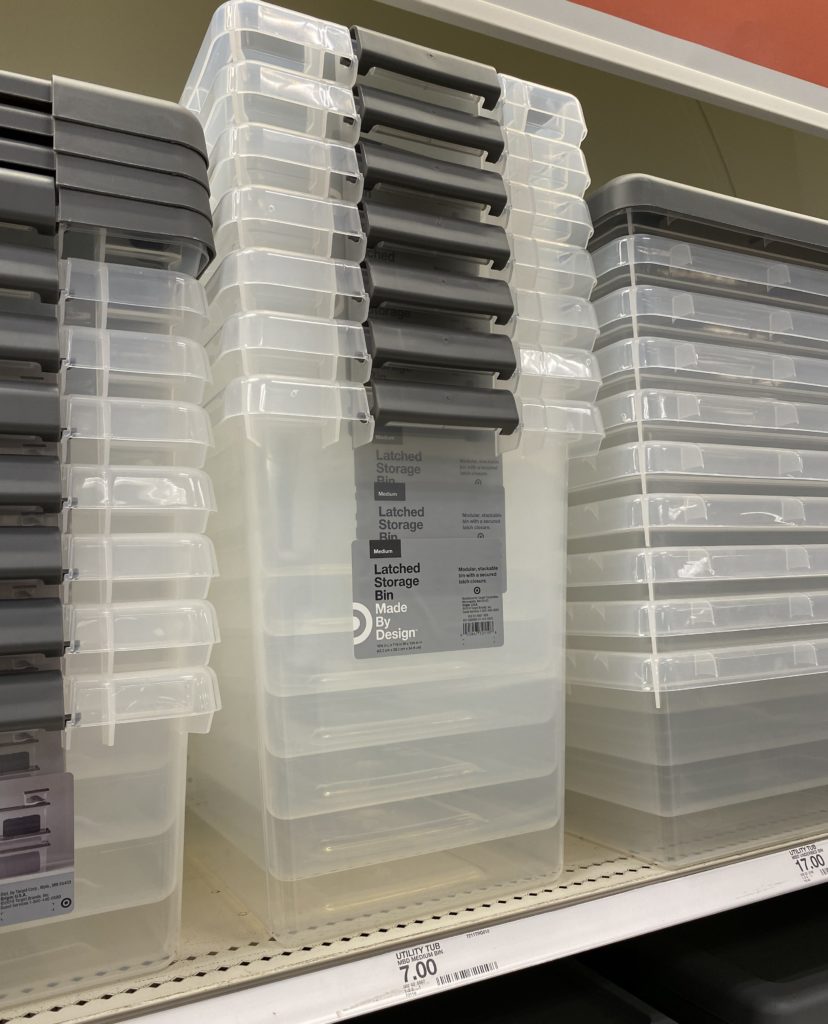
You may not need huge bins if your child is at an age where the toys are smaller. I took a look at Target and found these latched storage bins that seemed perfect for what I was looking for.
The second step is to take some advice from Marie Kondo and get everything you’re trying to organize in one place. If you have toys in various rooms of your house, then get them all in one place. It will look chaotic at first, but you’ll be glad to have it all together.
You’re then going to start going through all the toys and putting pieces together. This probably goes without saying, but go ahead and toss out toys that have missing pieces, are poor quality, are not developmentally appropriate, or are already broken. If they’re still in good condition but you just don’t want them anymore, then make a pile for toys to give away or sell online.
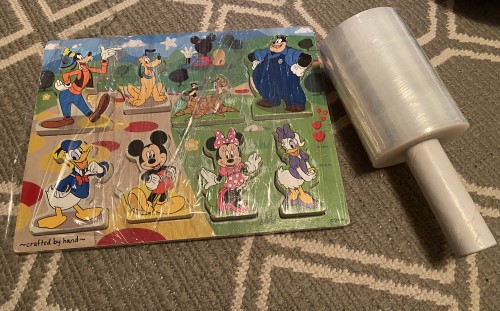
As you’re organizing, try to reduce potential chaos as much as possible. One of my favorite things to have on hand is this plastic wrap with a handle. It’s perfect for wrapping around toys with small pieces that you don’t want to fall out. I used it for puzzles that I wanted to include in the toy rotation so that I could store them on their sides.
Once you know which toys you’re going to keep, divide your toys into categories—building toys, puzzles, imaginative play, etc. You don’t want to only have one kind of toy out at a time; your kids will experience the greatest benefits from this if you have a variety of toys as part of each bin that is in the rotation.
Note: Don’t be afraid to leave out a few favorite toys—my daughter would lose her mind if she couldn’t find her play doctor toys! Also, of course, leave out any dear lovies or special stuffed animals.
Once the toys are in categories, set out your bins and get ready to fil them.
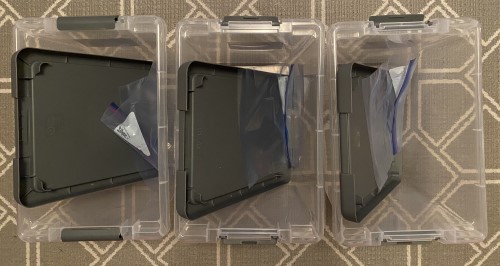
I chose to do three bins, and leave one set of toys out, so there are technically 4 groups of toys that are part of my rotation. I am planning to rotate them every 1-2 weeks, so this will last 4-8 weeks, depending on how often I rotate. If you have more toys, you could stretch this out even longer!
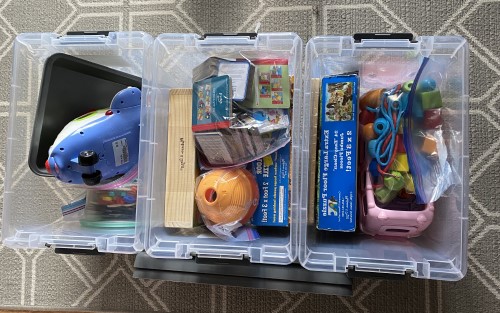
I would recommend for the first round to leave out some favorite toys and try first storing toys they don’t play with much. The next time you bring them out, if they still don’t play with them, then you’ll know it’s time to get rid of that or save it for a younger sibling.
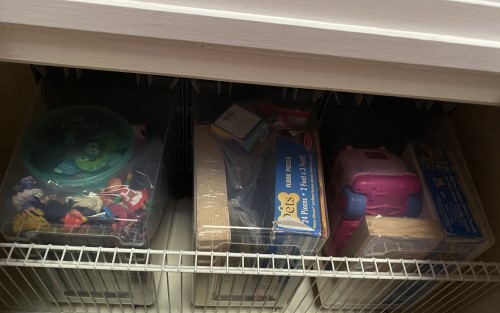
Once you have all the bins filled and organized, you then need to store them. Please forgive the darkened picture, but I chose to store them on the top shelf of the closet in my child’s room. I’m actually not sure this is the best place, because she can still see them if she looks up. A better option might have been to get bins that aren’t transparent or to put them in a totally different room of the house.
That’s it! Now just set a reminder to rotate the toys whenever you choose to. This toy rotation system is so helpful in keeping things interesting while also reducing mess at the same time.
Here are some other tips I have for maximixing your kids’ enjoyment of their toys when you’re living a frugal lifestyle:
- If your child receives a plethora of new gifts at a birthday or Christmas, pack some of them away immediately before the child even remembers they are there. You can add them to the toy rotation throughout the year to mix things up.
- Have a toy swap with other people. We did this at our church this past fall and it’s a great way to get rid of toys your kids don’t play with while also adding new (FREE!) toys to your home.
- When buying new toys, focus on open-ended toys that foster imagination and creativity.
- You can also do this rotation with bookys. We use the library a ton but also have a pretty solid collection of our own books, and rotating can keep your kids interest in them fresh.
Have you ever done a toy rotation? Do you think this idea would work in your home? Let us know in the comments!
Wanting to reduce messs in the kitchen? Check out my post on 8 ways to organize your pantry!
