This post may contain affiliate links. Read our disclosure here.
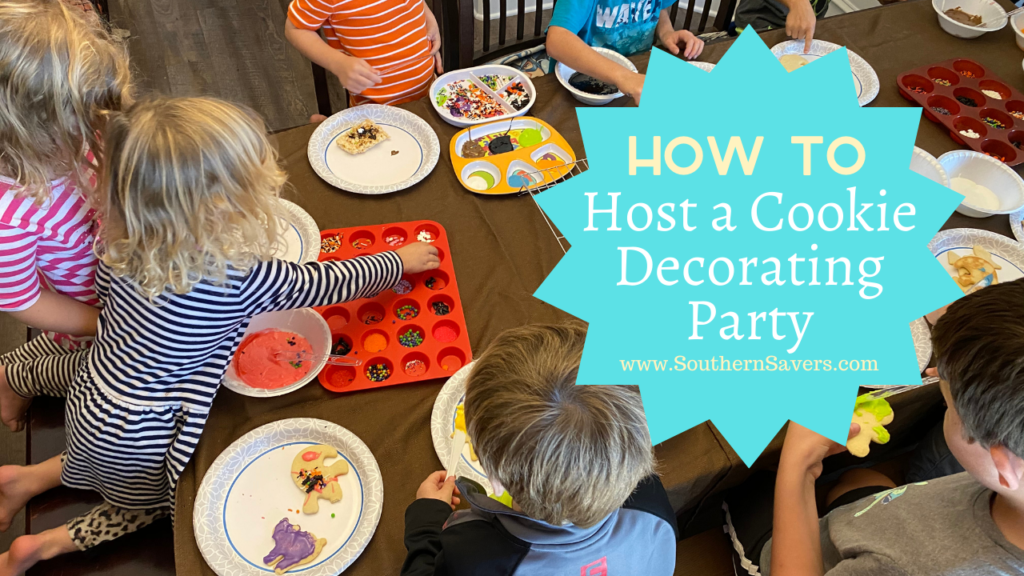
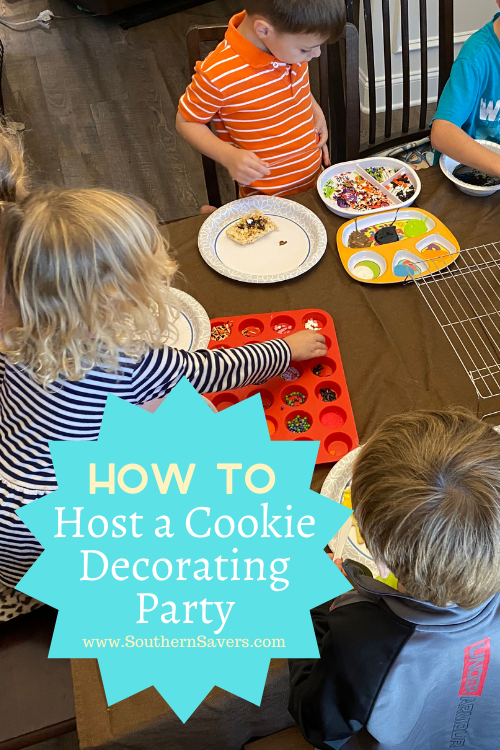
A fun family tradition that we’ve done for many years past is to host a cookie decorating party. Although we usually think of cookie decorating as a Christmas thing, there is no reason why you can’t do this any time of year! The only thing to change from season to season is the shape of the cookies and maybe the colors you. We’ve had a blast hosting cookie decorating in every season, but it’s the most fun over the winter holidays.
This guide to hosting a cookie decorating party will cover all the basics so you can do this fun activity whenever you’re in the mood!
Note: You can make this as COVID happy as you want. The pictures are only to show how it’s worked in the past.
How to Host a Cookie Decorating Party
The key to hosting a cookie decorating party is to keep your expectations realistic. What you will expect from a group of preschoolers is different from what you will expect from a group of middle schoolers. And another important tip: While you want to make sure the decorating area (e.g. table) is clean, I would NOT recommend cleaning the rest of your house in advance of this activity. Trust me, you’ll need to vacuum/sweep/mop at the end!
Invite friends
The first important step is to invite friends to come decorate cookies. To know how many to invite, consider how much room you have. We can fit about 8 comfortably around our table, but you can also set up card tables or use other work surfaces if you have the space. You want everyone to have enough room.
Consider the ages of the kids you’ll be inviting. It’s fine to have a wide range, but just consider that younger kids may need more adult supervision than older kids, so make sure you have enough adults coming as well.
You can invite friends with an official in-the-mail invitation, or just send a group text!
Make the cookies
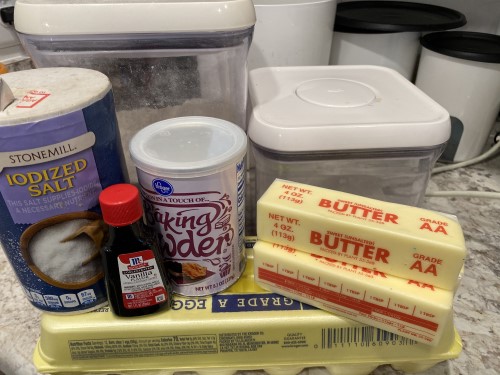
Once you know how many people are coming, it’s time to make some cookies. I always make rolled sugar cookies, and this recipe as written makes about 60 normal-sized cookies.
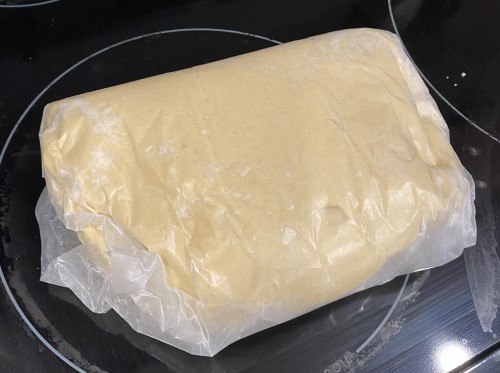 The other important thing about the dough is that it needs to be refrigerated ahead of time, and you’ll want to make the cookies before the party. If I’m hosting a party on Saturday, I make the dough on Thursday and the cookies on Friday. You can also freeze the cookies once they’re baked, so you could prep even further in advance.
Plan on making about 3-5 cookies per kid, depending on their ages. Older kids may have a long enough attention span to make more than that, and if any adults want to decorate after the kids are done, then you’ll enjoy having some extra.
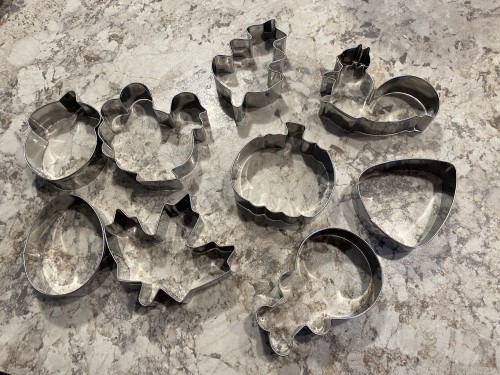
We recently hosted a fall-themed cookie decorating party. I had a few cookie cutters already that worked (a gingerbread man, which works any time of year, a house, a pumpkin), but I wanted some more, so I ordered this set of cookie cutters.
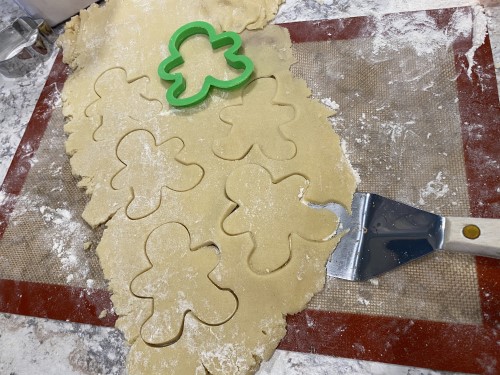
If you want to extend this as a family activity, then you can let your own kids help with the cookie cutting and baking. One year I tried to do the baking AND the decorating at one event, and it was not successful. When your friends come over, you want everything to be ready!
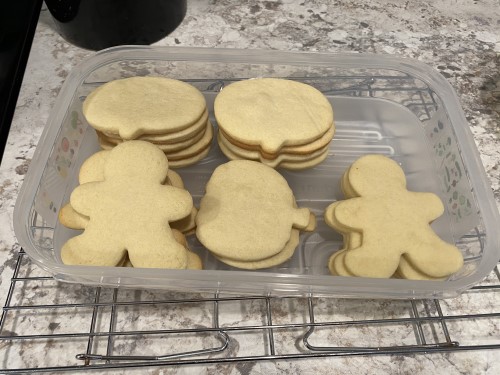
When you’re cutting out the cookies, make sure you cut out many of the same kind. Every kid is going to want to decorate a person, so make sure there’s at least one for everyone. If I’m just making the cookies ahead of time, I stack them in a plastic container and stick them in the fridge to keep them fresh. You can also freeze them this way.
Make the icing
The day you’re planning to decorate, make the icing. I use a recipe for sugar cookie icing that only has three main ingredients: powdered sugar, corn syrup, and milk.
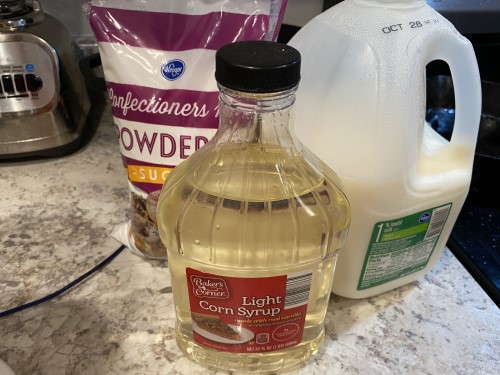
The recipe calls for almond extract, but I just omitted that for our recent party because someone has a nut allergy. You could also substitute vanilla extract or peppermint extract, depending on what flavor you want.
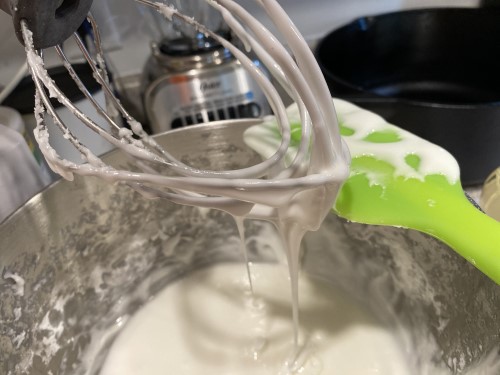
The icing should be about this consistency. If it’s too thick, add a bit more milk. The corn syrup is mostly to give it the glossy finish and cause it to harden after a few minutes (meaning you can stack decorated cookies).
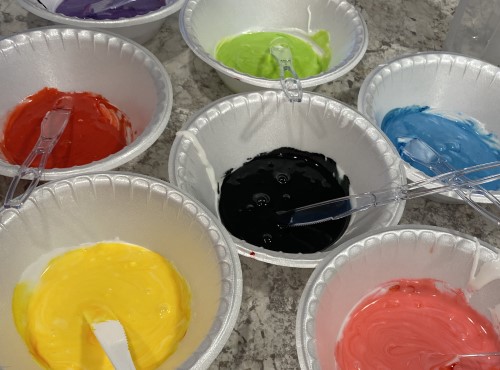
The main icing recipe is, of course, white. Once I get the icing the right consistency, you’ll want to divide it up according to how many different colors you want. I always use plastic bowls and knives for parties because it’s super easy to just toss everything when you’re done, lessening the overall mess. I always make a variety of colors, including leaving some of the icing white.
Set out other cookie decorations
In addition to the icing, you may want other decorations. We have in the past used sprinkles, cookie decorating gels, edible googly eyes, chocolate chips, and small nuts. Anything that is edible is fair game!
Prep for the day
The final step before decorating is to get everyting ready. I like to put down something washable or disposable on the table. Then set out a disposable plate for everyone to use as their decorating space, and you can also put out cookie racks where people can set their cookies to dry. I use mini muffin tins to set out the decorations because it allows for many little hands to reach them.
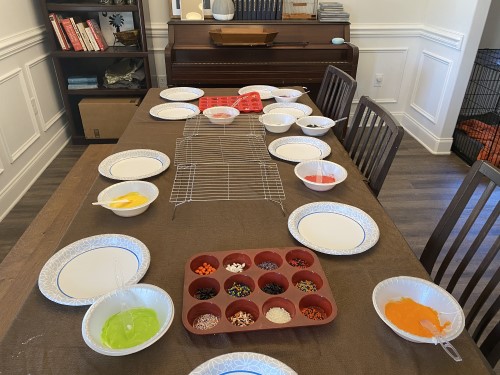
Another important tip is to either have something in which people can take their cookies home, or ask them to bring something with them to the party.
Decorate the cookies
It’s finally time to decorate the cookies! Gather all the kids around the table and let them get to work.
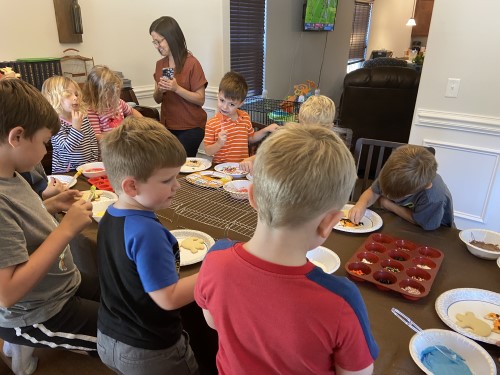
Again, depending on the ages of the kids, you may want to give some directions such as not to lick the icing knives and not to eat handfuls of sprinkles (not that that’s ever happened at my house…). But try to keep the atmosphere as fun and relaxed as you can!

This really is one of our yearly traditions that all of our kids look forward to, and as we’ve included different friends over the years, they look forward to it to. Even the less professional looking cookies are special, and they all end up tasting the same!

Also, if you don’t have kids or if this seems overwhelming, you could totally host an adults-only cookie decorating party!
Not interested in decorating cookies? Check out these 25 Christmas cookie recipes!
