This post may contain affiliate links. Read our disclosure here.

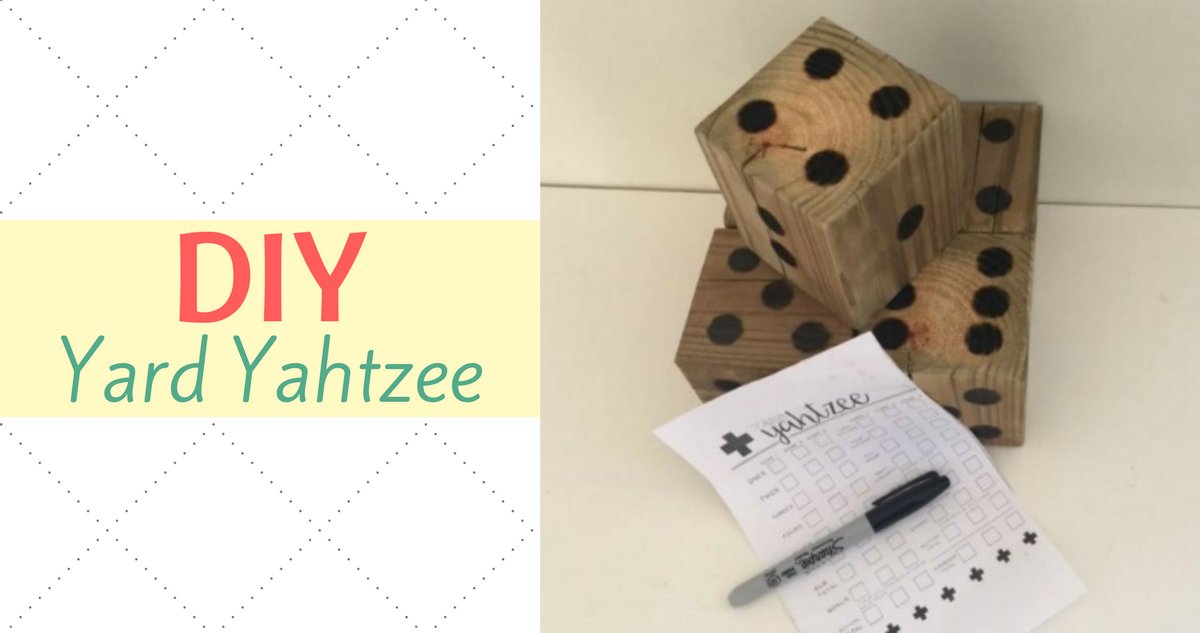
This DIY project is one for all ages! In less than an hour you can make a set of Yard Yahtzee with these simple instructions. Go as simple as you like or decorate them up a bit, anyway you make the set it is going to be a ton of fun to play with!
Materials Needed:
(1) 4×4 6 ft long Wood Post from hardware store
(1) metal washer 1 in
(1) power saw & sander
paint or permanent marker (or propane torch if you are like my husband)
optional
(1) pint of polyurethane varnish
Assuming you already own power tools of some sorts (please don’t buy them just for DIY Yard Yahtzee) the total cost for one set will be around $20. Everything you buy though will be enough to make 4 sets for the same price, so go big and give this gift to lots of folks this year!! That makes them $5 per set, versus many online sites that sell them for $55-$100 a set.
DIY Yard Yahtzee
Step 1:
Cut (5) dice out of the 4×4 wood
While they call it a 4×4 it is really 3.56×3.56 inches, so we want to make sure to cut the length to match. From a 6 foot post you should be able to make 20 dice (enough for 4 sets of 5 dice) at 3.56 inches on all sides.

Step 2:
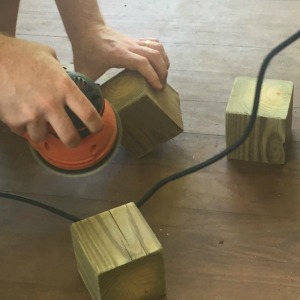
Sand all sides and edges.
No one wants to ruin a game of yahtzee with splinters. The edges also make it hard on the hand to throw. So you are just taking the edge off a bit…

Step 3:
Put on the numbers!
Here’s where you can make this your own project. We grabbed a metal washer from the garage, if you don’t already have one just grab it at the hardware store with your wood, they cost about 25¢. A washer that has a inside diameter of 1 in or 1.25 in is the perfect size to make dots without having to spend time on templates.
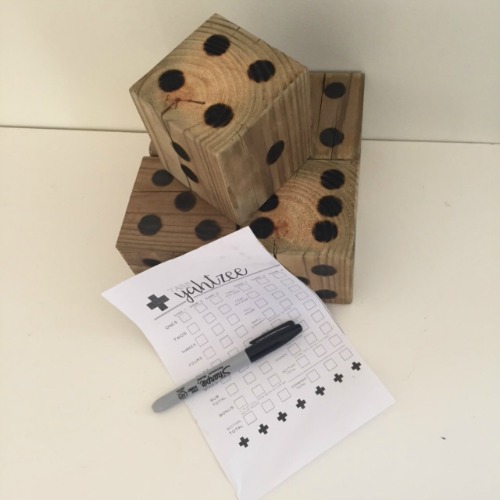
Arrange your pips (that’s what each dot is actually called) in the pattern above. The goal is that opposite sides add up to 7 all the way around.
Trace the washer with a pen/marker, and then either paint in the circles or use a permanent marker.


If you want to get the husband involved you could add fire to the method… my husband used a small propane torch to burn them on still using the washer as the guide (just don’t touch the washer it get’s crazy hot!).
Step 4:
Varnish all sides.
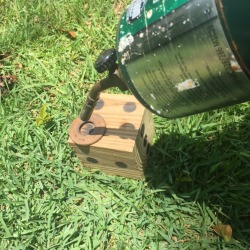
This can be an optional step, but it will help the dice to last longer. It will also help the paint/marker to stay on better too. Give each side of the dice at least one coat of polyurethane varnish and let them dry completely.
After they are dry (or cooled off) you are ready to play! Print out these yahtzee sheets and cut them in half to have one for each player.

Real Life Note:
Some sites show people tossing these in a bucket. It’s very cute but it doesn’t work. You have no way to shake them up before throwing and kids won’t be able to play at all because of the size of the bucket you’ll need. We have played by letting the girls throw each dice individually or two at a time and only use a bucket to keep them all together when we aren’t playing.
How to Play Yahtzee:
We had folks over recently and absolutely no one knew how to play! After I got over the shock I began to teach 20 plus people the basics of the game. So for anyone else that has never played, here are the original Yahtzee directions. Print them out if you have some rule crazy folks in your house.


