This post may contain affiliate links. Read our disclosure here.

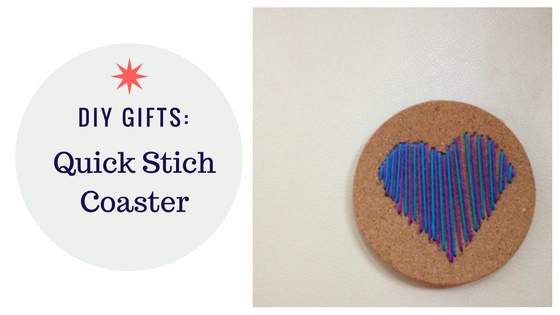
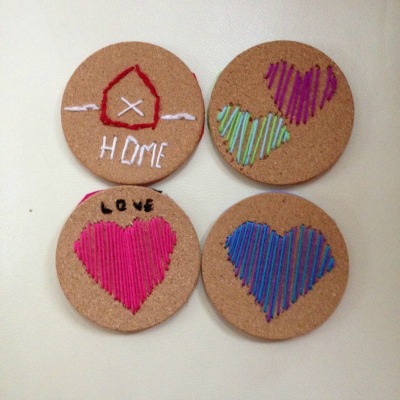
Here’s another fun & easy craft that would make for a fun and personalized gift for anyone. Make DIY Quick Stitch coasters and get as personalized and artsy as you can, or go as simple as you want. My girls also helped, so as long as your kids are old enough to trust them with a needle than they can help too.

Materials Needed:
Cork Coasters
Yarn, various colors
Large Eye Needles
Felt
Hot Glue
Total for all the supplies is around $20 (the felt is the most expensive). That will be enough to make at least 6. You’ll have all the supplies to make even more than that you just need more coasters. If you grab two sets of coasters you would have 12 of them for less than $25.
One Note of the Cork coasters. You want to get some that aren’t paper then. These are the ones we got and they worked perfectly. If you go too thin they will rip through after a few needle holes are made. Ours were right at 1/4 inch think.
DIY Quick Stitch Coaster Directions
Step 1: Decide on your design and trace it onto your coaster. I went kindergarten and cut it out of paper and traced that onto the coaster. You can trace with lines or make dots around. Since I had children helping I made dots to help them space out their stitches.
Some design ideas: Simple Shapes, Monogram letters, Easy Patterns

Step 2: Tie a knot in your yarn and start from the bottom coming up for your first stitch.
Step 3: Follow your design or pattern around always leaving knots on the back side of the coaster. Don’t come up right at another stitch, too many holes in one area can make your cork coaster weak. Finish by tying a knot with the thread on the back side of the coaster. Trim any strings on the back side as flush as possible.

Step 4: Hot Glue felt onto the back of the coaster. Either cut it to match the coaster size before gluing or after.
You are all done! From start to finish these took us about 10-15 minutes a coaster depending on how intricate your design is.

I had a few that decided to free hand a bit, but they still turned out cute. While Martha stewart may not want an 8 year old designed coaster, I know I will love them!
See more DIY Gift Ideas!


