This post may contain affiliate links. Read our disclosure here.

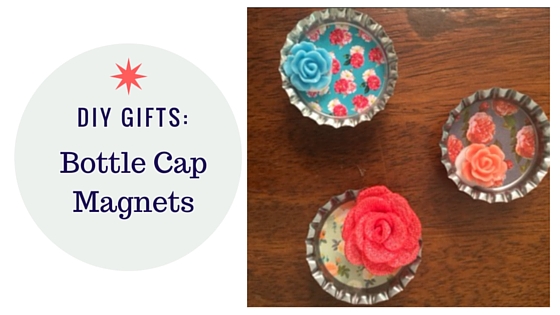
Here’s an easy DIY Gifts idea that everyone in the family can help with. DIY Bottle Cap Magnets are a gift that you can get super personalized with or just go fun and colorful. It is so easy we actually did it as a birthday party craft idea for 9-11 year old girls. They had a blast, and now I have a very decorated fridge!
Materials Needed:
Bottle Caps (these can be used or new)
Circle Magnets
Hot Glue Gun
Pictures and/or stickers
Small decorations
Modge Podge (optional)
These materials are enough to make 50+ magnets. Total cost is around $20 for all of them!
DIY Bottle Cap Magnets
Grab all the decorations you want and stickers and set them around the table. Find items that are in the same color family or are favorites for the person you are making them for. Do they like roses? The color green? You get the idea.
Step 1: The Inside Picture/Sticker
If you decide to go with pictures trace the bottom of the bottle cap over the picture and cut it to match the size of the inside circle. Glue your picture in first and then start to decorate. The more simple and fast option is to go with the bottle cap stickers (it’s amazing what they make these days). The stickers are the exact size you need and come in some cute designs! We went this easy route for our birthday party craft.

Step 2: Add Decorations
Pick out the matching decor items and then hot glue them into the bottle cap. This is where the girls had the most fun making them all different.
Step 3: Optional Modge-Podge
If you want the magnets to be sealed tight, then grab the Modge-Podge and epoxy them! This can be the best option depending on the decorations you choose. Heavy items can fall out, or some of the girls went with sand on beachy scenes. This makes it completely sealed in so that nothing can mess with your design.

Step 4: Add Magnets
Hot glue the magnets onto the back of each bottle cap. Super simple. After trial and error we learned that this needs to be the last step… NOT step 1. Magnets really like each other. So if you jump ahead and put them on the back of the bottle caps they will fly together while you are working. This means your decorations are flying out too.
See more DIY Gift Ideas.


