This post may contain affiliate links. Read our disclosure here.

I love the idea of making mini planters as gifts for Christmas. Polymer clay is a great clay for making planters. It’s pliable clay that you bake in the oven to harden – you don’t need a kiln for this project! Keep in mind that polymer clay isn’t food safe – so don’t use your food utensils to make this one.
Supplies:
Parchment Paper
Rolling Pin
Sculpey
Craft Knife
Succulent ($4 at Home Depot can be separated into 2)
It took about 1/4 of the bar of clay to make one mini planter. You could choose to make one thinner or smaller than the one I made, though.
1. Roll 1/4 of the bar into a ball, then flatten it with a rolling pin onto parchment paper. I put another piece of parchment paper on top of the clay to keep it from my rolling pin. Flatten the clay into about 1/4″.
2. Once the clay is flat, lift it from the parchment paper to keep it from sticking after you’ve already cut it.
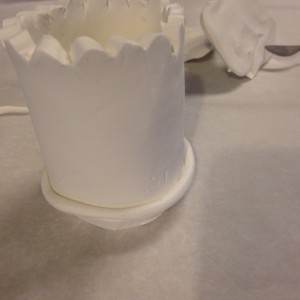
3. Use your craft knife to cut the form of the design. I did a scalloped top, but you can make anything you want. A box, a plain cylinder, a mini house and more!

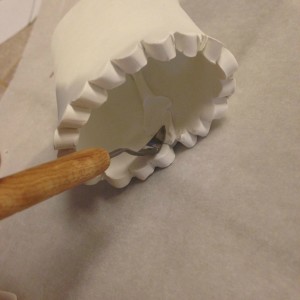
4. Bring the two ends of the planter together, make a thin “snake” out of clay, put it over the seam and blend it in with your finger or another utensil.

5. Cut a circle from the remaining flattened clay the size of the bottom of the planter.
6. Make another snake to cover that seam. I put a snake on the outside and inside seams to make sure it’s water-tight, but one or the other should do.
7. Bake it according to the package directions, let it cool.
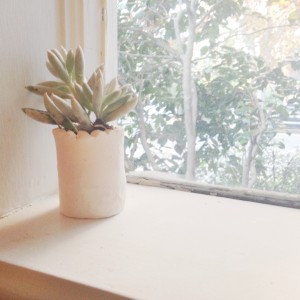
8. Put in your succulent!

See more DIY Christmas projects.


