This post may contain affiliate links. Read our disclosure here.

My pantry had gotten a little crazy, but for Christmas I decided it was time to clean out my pantry and get organized (a sweet present to give yourself I must say). You may be needing the same thing, but not quite sure where to start. Cleaning a pantry can be overwhelming but it doesn’t have to be.
Set aside some time for this project. If you only have time for a shelf or two, that’s okay. If you want to tackle to the whole pantry in a day make sure to allow enough time so you won’t be eating dinner with half of your pantry on the table next to you. If you have kids, you can even get them to help!
Here are my 8 tips below for an easy pantry makeover.

1. Before you begin your pantry makeover, start with a clean slate. You can start with one shelf or if you want to tackle it all, clear out the whole pantry. This will make your life easier when you start to reorganize everything back on the shelf.
2. While you are clearing off your shelves, check product expiration dates. Doing it now will give you more space to work with and you won’t have to worry about organizing something that doesn’t belong. Doing this before your next grocery shopping trip will also help you remember items you already own and may not need to buy.
3. As you check expiration dates, look for items you don’t plan on using and create a donation pile. I keep a box in my pantry just for donation items, so when I finish my shopping trip, any items I plan to donate go straight into my donation box. This keeps clutter at bay and when you are ready to donate all the items, they are in one place.

4. Try using see through storage items for easy access to items. You don’t have to spend an arm and a leg on storage containers. You can use items you already have, like old jelly and honey jars for rice, beans and other bulk items. You can even get creative and relabel your jars.

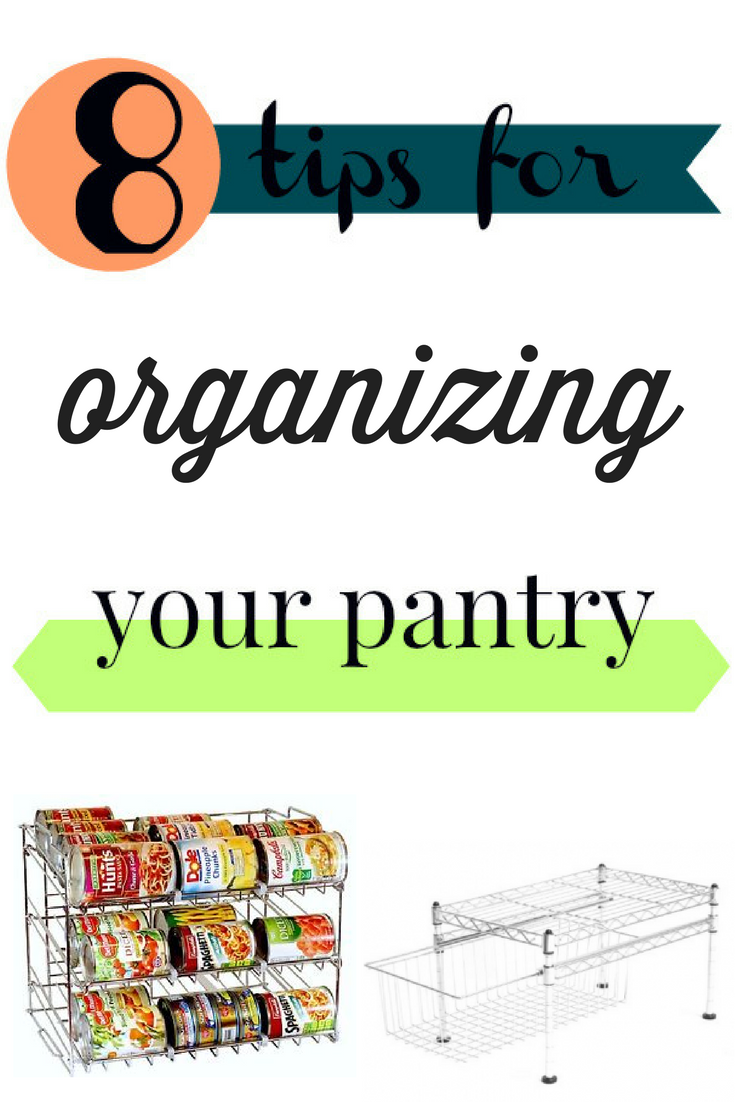
5. If you are like me and have a lot of canned items, consider purchasing a rolling can rack. This can save you time an energy when it comes time to cook your meals. I grabbed two and it held everything we had perfectly. They are more sturdy than past units I’ve tried and are super easy even for kids to keep things organized (I have grocery put-away helpers).
6. When you are ready to start putting items back on the shelf, group grocery items by category. A simple system would look like this: canned goods, pasta and other bulk items, baking items, cereals and snacks.
7. As you are grouping your items into categories, place items with longer expiration dates in the back. Doing so will allow you to use items that need to be used first. You also need to train yourself to put newly purchased items in the back, so that you are always eating the older items from your stockpile.
8. If you have kids who are old enough to get their own snacks, save space on a lower level shelf for kid friendly snacks. I grabbed two of these sliding drawers for the floors of our pantry just for snacks. The girls know that if it’s snack time they are welcome to choose from anything in the drawers.
Have kids but they aren’t ready to get snacks for themselves? Create space for baby food pouches, formula and other snacks. This way you won’t have to hunt for them, they will be nice and neat and ready to eat.
Do you have any other pantry organization tips?


