This post may contain affiliate links. Read our disclosure here.
Earlier this week the Southern Savers radio show was on how to have frugal kitchen. The #1 tip… avoid unnessary gadgets and appliances. For us a bread machine fit that category. I love fresh bread (even more so since my husband went gluten free and I get to eat more of the loaf) but don’t want to have another appliance filling the kitchen. I know many of you love fresh bread, but don’t want to spend a crazy amount on a bread machine.
You can make delicious bread and really don’t need anything you probably don’t already have. Well… there is one thing I would encourage you to invest in.
You’ll need a digital scale and a dutch oven (you can skip the digital scale if you really want to, but do so at your own risk). There is no bread machine needed though. The ingredients are cheap and I love that I know exactly what is in it. You can even use different variations. We love to add rosemary.
The recipe calls for 3 1/4 cups of bread flour, but I like to weigh the flour for more accuracy. I also wanted to make the recipe easier to duplicate. As you may know, one person’s cup of flour may be actually contain more or less flour than another person’s cup of flour depending on a lot of different variables (method of measurement, temperature, humidity, brand/type of flour, altitude, etc.)
When writing or following a recipe, weighing flour can make it easier to get consistent results. I weighed 3 1/4 cups of King Arthur bread flour and it came out to 17.5 oz. If you don’t have a kitchen scale, then just measure by volume but know that you may have to add more flour and water by the tablespoon as needed during the stirring phase.
When we have company coming over, I can start bread the day before. The next day, it will be ready to bake and I am able to serve warm, homemade bread without any hassle.
Here’s how to make homemade artisan-quality bread.
Ingredients:
17.5 oz (3 1/4 Cups) Bread Flour (We are a King Arthur family)
1.5 cups Water (12 oz)
2.5 Teaspoons Kosher Salt (not quite 1 tablespoon)
¼ Teaspoon of Active Dry Yeast (that’s it)
Note On Water
If you use municipal supply water, it could mess up the recipe. Chlorine and other chemicals in tap water, are designed to kill microorganisms (like yeast). This isn’t typically a negative thing, but if your yeast doesn’t survive the first rise, you may need to switch to bottled water.
Steps:
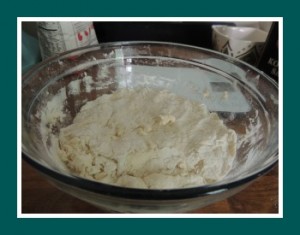
1) Combine all of the ingredients in a large bowl. I’ve found that a fork is the best tool to bring everything together. It doesn’t have to be thoroughly mixed, just make sure that most of the flour is in the mixture instead of the side of the bowl.
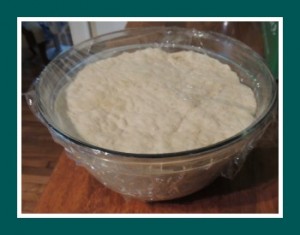
2) Let the mixture rise in the bowl covered in plastic wrap at room temperature for 19-24 hours.
3) You want to form a jellyfish-like ball with a tight skin around all but the very bottom of the loaf where the dough will be pinched. To do this, use flour (or cornmeal) to coat the inside of a small to medium-sized bowl on. Rub flour in your hands, and flour a clean surface.
Pinch and pull the sticky dough mixture from its large bowl, then roll the dough on the floured surface to make the outside of the dough easier to form into a ball. Your hands will get messy, so you should wear food-service gloves if that bothers you (but you don’t have to). Again, it should resemble a jellyfish without tentacles.
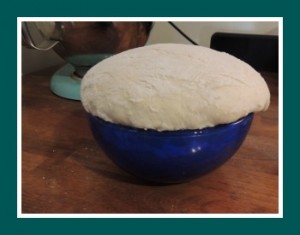
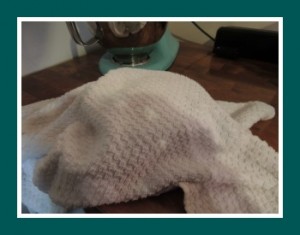
4) Let your newly-formed loaf rise inside of the small bowl covered with a clean kitchen/tea towel for 1-3 hours. This is called the second rise (the first rise was the 19-24 hour rise). The purpose of this rise is to allow the yeast to create carbon dioxide bubbles and improve the texture of the bread.
I think that a 2-3 hour second rise produces the best bread texture, but if you prefer denser bread (or if you are pressed for time) then 1 hour second rise will suffice. Anything less than an hour will produce something more like sports equipment than bread.
5) However long you decide to let your dough rise the second time, plan to preheat your Dutch Oven (inside of your oven) at 475 degrees for 30-45 minutes. I use a cast iron (Lodge brand) Dutch Oven, but I’ve read accounts of earthen-style Dutch ovens (specifically Le Cruset brand) working just as well. I like to remove the lid from the Dutch oven and preheat it beside the Dutch oven, allowing the space inside to be exposed to the oven’s heat.
I haven’t tested this method to determine if it is actually better (or noticeably different) than leaving the lid on during preheating, but I suspect that it is better. Do whichever you want.
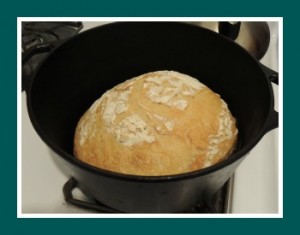
6) After the second rise and after preheating the oven/Dutch oven, invert the dough from the small bowl into the preheated Dutch oven and bake with the lid on for 30 minutes. You want to do this carefully so that you don’t apply too much pressure to the dough which would deflate the pockets of air that you’ve allowed to develop during the second rise.
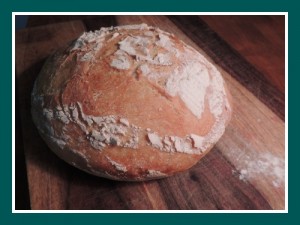
You can “score” (cutting a pattern—most commonly a “X”—on the top of the loaf before baking) the dough after you invert it into the Dutch oven and before adding the lid with a sharp paring knife or with shears/scissors, but do so at your own risk being careful not to burn your hand on the hot inner walls of the Dutch oven. I usually skip this step because it’s unnecessary: the bread will essentially “score” itself as the steam escapes from the loaf while baking. Bread that hasn’t been scored will have a rustic, homemade look (which I consider to be a good thing).
7) After 30 minutes of baking remove the lid. The bread will most likely be a pale yellow color that is just starting to turn brown. Bake the bread with the lid removed for no more than 15 minutes until pleasantly browned, or until (if you have the means to measure it) the internal temperature is 210 (the same ideal temp for a baked potato). It doesn’t always take the full 15 minutes, so check the bread before then.
8) Carefully remove the bread from the Dutch oven and let it rest for 5-10 minutes.
It’s that simple! If you want, you can even serve it with olive oil and freshly ground pepper.
What is your favorite homemade bread recipe? Please share your bread making tricks and tips in the comments below!
See more tips for frugal living.


